Showing posts with label crafting. Show all posts

Mar 23, 2015

DIY Painted Rock Cactus

I saw this pin on Pinterest and thought I could muddle through this one pretty well. I didn't really have step by step directions and it was fairly easy just to wing it. My "cactus" doesn't have any cool 3D shadowing effects or anything but I think it works! Maybe? 

Here is the original pin:


And here is my finished product!


If you're looking for an easy DIY pin then this one is a good one to do. You really can't mess up. And if you do, just paint over it and start again. It's what I did! 

Dec 15, 2014

DIY Ugly Christmas Sweater @ Asheville Grit


Head on over to Asheville Grit today to check out my 3 different themed ugly Christmas sweaters! I had such a fun time putting them together. You gotta see the back of these babies! 

Aug 6, 2014

DIY {Rustic Mirror Frame}


Well hello there kind readers. I've got a DIY for you today! How to take a regular mirror and make it rustic. This diy takes a little bit more work and probably the help of a partner. Your partner will need to help with mounting it to the wall for sure. You will need power tools like a table saw and a circular saw. My dad happens to have a wood shop so I sought out his help for space and tools. You may have those tools on hand or you may have a buddy that can help you. I do also show you the picture frame at the bottom of the post that I did by myself with only using a handsaw for cutting. That is definitely a solo project.

On with the mirror...
I started with a discarded mirror. Why was it discarded you ask? Had it been rude? Had it made fun of me? Nothing of the sorts. Actually, we replaced it with a newer, prettier model. So it was was far more shallow reasons than hurt feelings. It was time to make this old mirror into something new. Give it new life!

I was driving past a Feed & Seed close to home and saw a FREE sign near their old pallet wood. I stopped and scrounged around gathering pieces I thought would work well. I knew I wanted to make a frame for the mirror so I tried to get long, wide pieces. When I had all the wood and I was looking at the mirror I though... now how am I going to do this? Glue it to the mirror? I asked my dad for advice and with his trusty carpenter skills he says, "let's build a frame to go around the mirror that will just hang on the wall around it" PERFECT!

Here is the plain boring mirror that used to live in our main bathroom


The wood I found on the side of the road. Classy. Reeeeal classy.


 We got a piece of plywood and measured out a rough frame. The finish doesn't matter because you'll be covering this up with the pallet wood.


Here's where you need a power tool. You will need to cut the frame out. I did some cutting too! Just no photos of that :)


Test it and make sure it fits around your mirror. It doesn't have to be a snug fit. The pallet wood is wider than the frame so there will be an overhang.


Go ahead and map out what piece of wood you want where. This is also where you might need to make a few cuts with the table saw to make sure your 4 pieces fit somewhat flush. This is a rustic mirror. No snug fits here!

We used liquid nail and glued the pallet wood directly to the board.


Use clamps to get the pallet wood to stick. We let this sit for about 2 days.


Ask the shop dog if it passes inspection!


It's a go!

After it dries and the pallet wood is pretty firmly glued you are ready to mount it to the wall over your mirror. This frame was pretty large so it I definitely needed help getting it nailed to the wall. It isn't heavy it's just awkward. If you've got a smaller mirror and frame then you can do it yourself.

I had a blank wall in the bedroom where I wanted it to go.


We used mirror clips to hang the mirror. I found these at the hardware store near bathroom mirrors. We measured a BUNCH and drew all over the walls. I can never take this down basically. Unless we plan on using the wall as a dartboard.


Mirror is up. Next step - frame. We screwed the frame directly into the wall. Yep. Never coming down.

Also - see the bottom right part of the mirror? That happened during dragging the mirror all over creation. It broke. I was determined to still recycling this mirror so I just resolved myself to work with it.


The frame covered the break for the most part. I did use a little sliver of wood to hide it a bit. Never surrender! (please excuse the mess in all surrounding areas)


I could not have done this without the help of my dad and my husband. Especially with my bum wrist at the time. It was hard to grip the mirror for carrying. I wore leather gloves so I could keep a better grip on it. I did have scraps left over that I glued to a picture frame. I used a hand saw to trim the pieces down to fit. In one corner I just used a bunch of little pieces. With it being rustic you don't have to make it perfect.


May 6, 2014

DIY {Tribal Tee}


I loved this DIY. I found the original pin here and it linked to the I Love to Create blog. Her directions were great. Easy to follow and easy to do.

I started with:
 a white tee
 a black fabric marker
scissors
masking tape
 and a tee shirt board (you can get the tee shirt board at the craft store or you could have a piece of cardboard where you've cut out a tee shirt template)


I followed her directions and she started with cutting the collar off.


Turn the tee shirt sideways and cut more off the collar for a more modern neck


She updates the sleeves next. Cut straight up the sleeve and then tie the ends in a knot.


The bigger size the shirt the better, I learned. I really should've started with like a men's large or x-large. This one was a women's large. When I tied the arms the sleeves ended up being tight for my arms. 

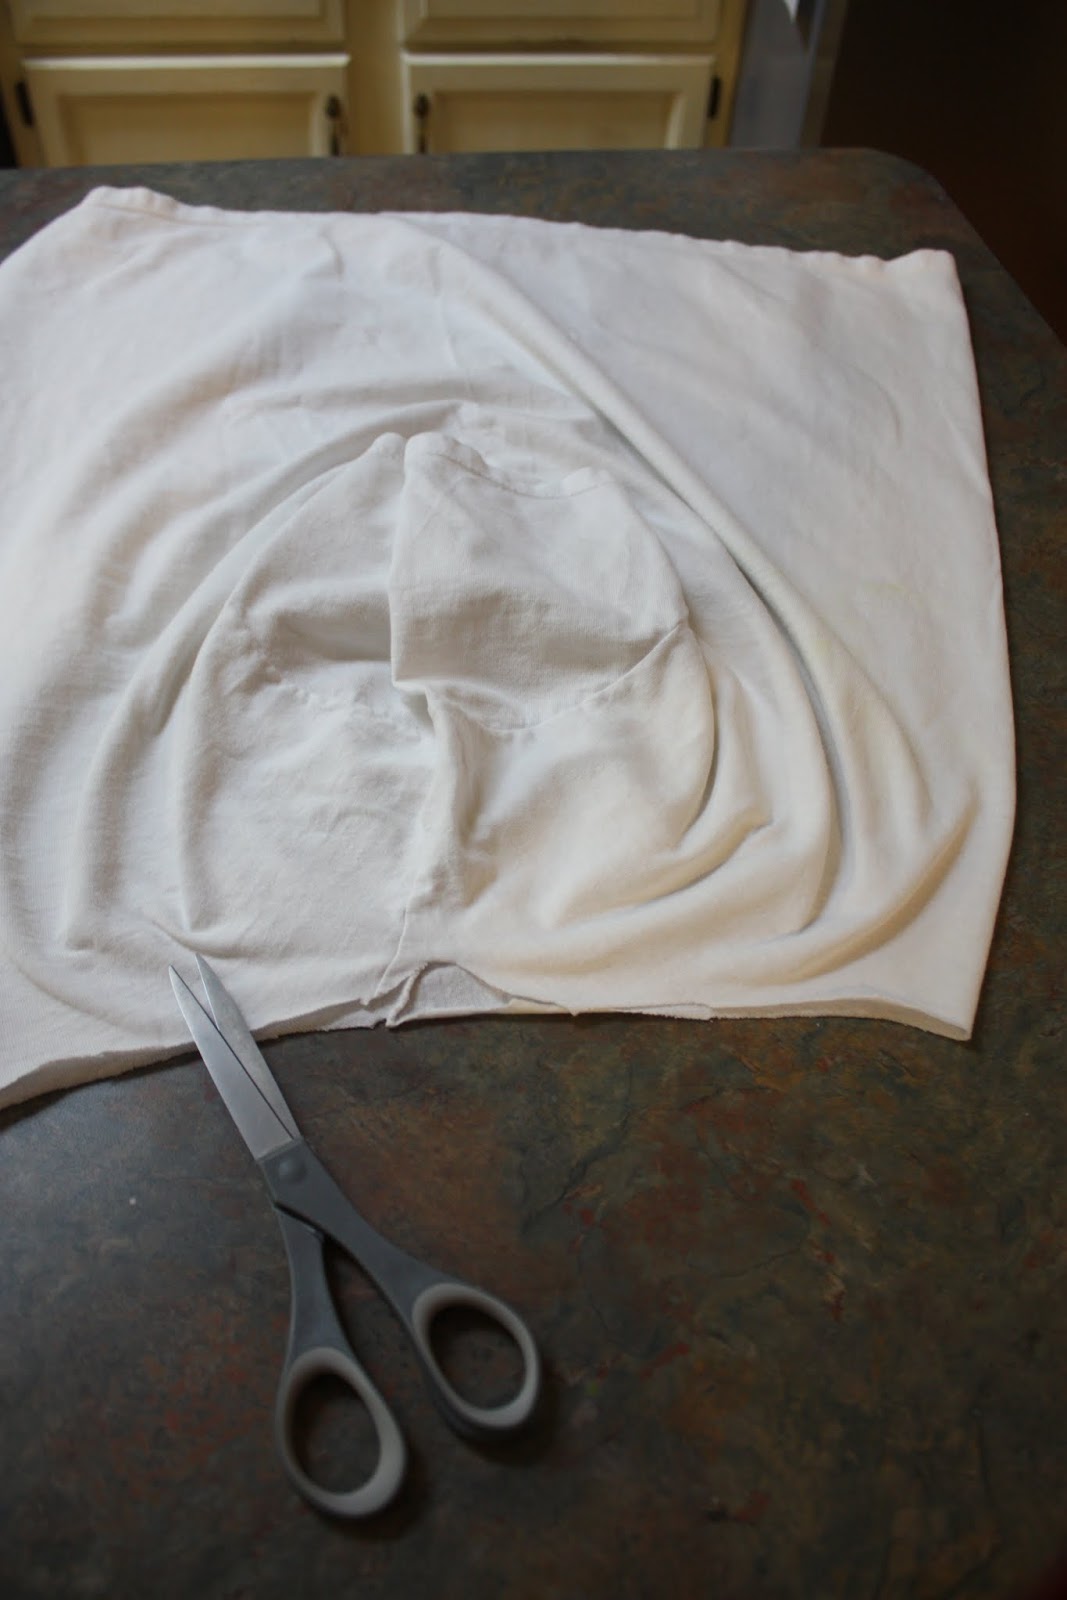
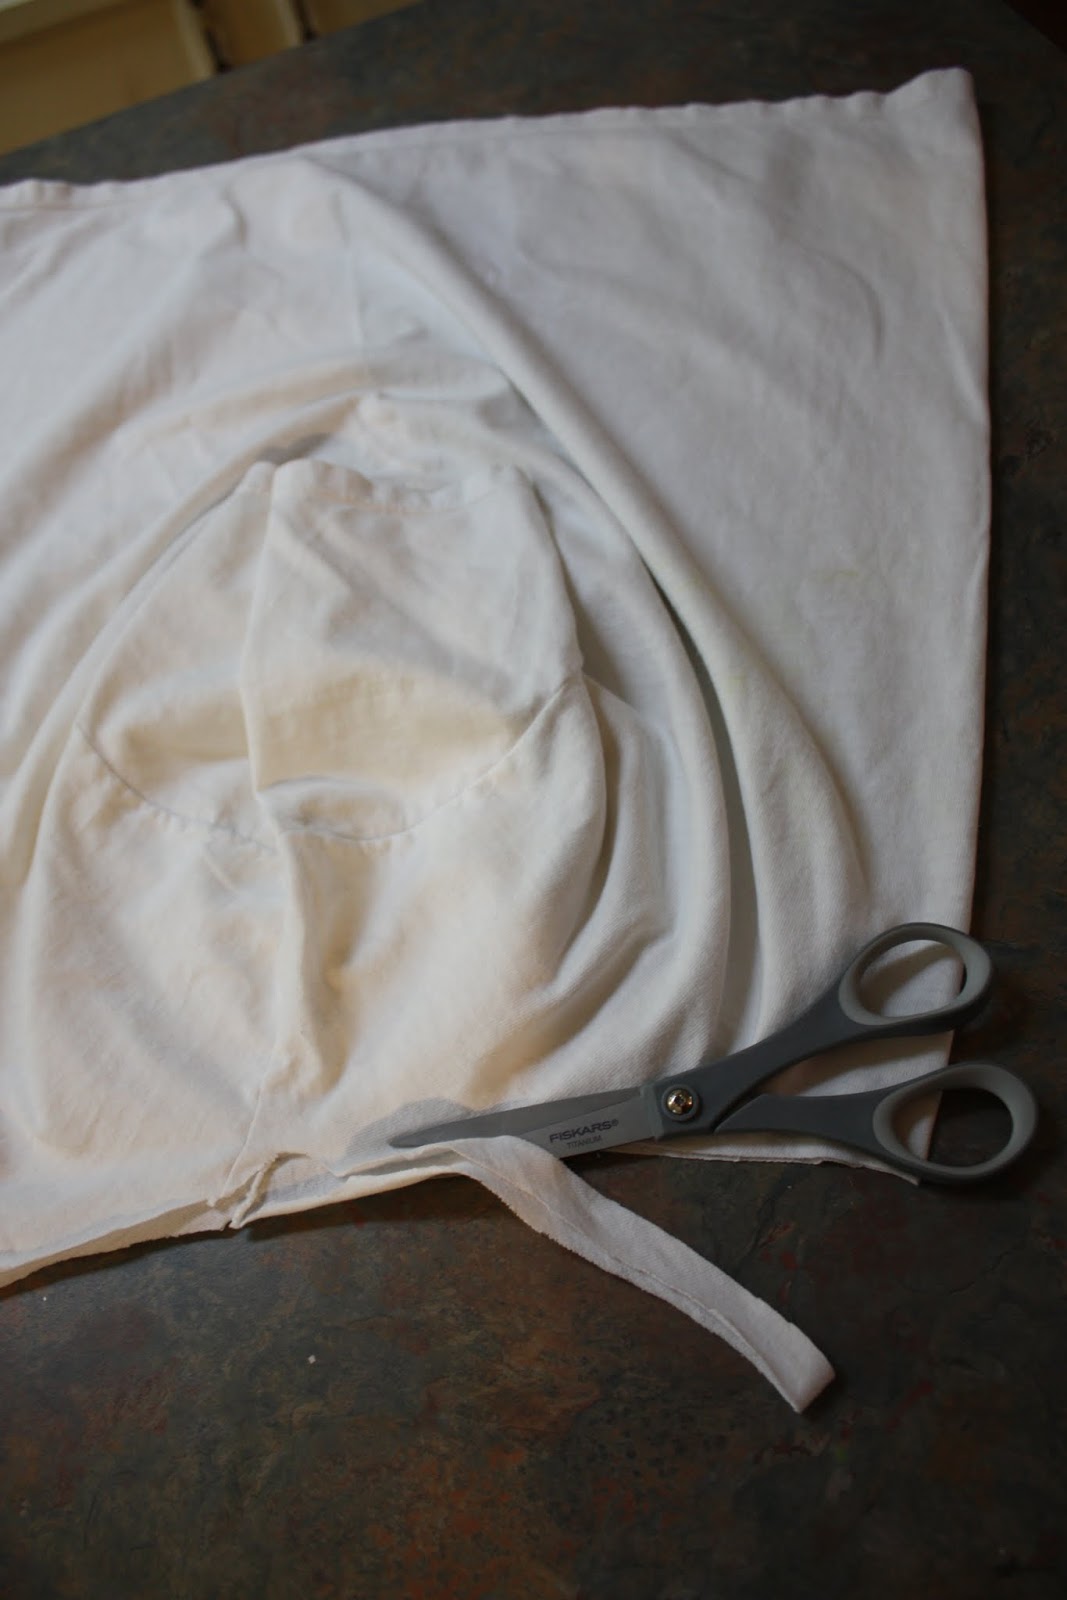
Next, cut off the bottom hem
 

Then make a cut like the photo below to give the tee shirt what a like to call a "mullet" in the back


See how the front is shorter than the back? I love it.


put the shirt on the tee shirt board 


Place masking tape in different widths. Inside the tape is where you will draw the tribal designs with the fabric marker.


I basically did different arrows and triangles using her design as a starting point.


Here is what I had hoped would be the final product. But during the process I got some smudges on shirt. You can't really tell in this photo but they were down below the designs. I tried to use soap and blot it out but it didn't work. Then there were more smudges that I saw as looked more closely and as it dried. I don't know if it was the way I colored my lines or if it was my fabric marker quality. 


At this point, the only choice I had was to dye the fabric. That's how it ended up the blue color! Not my favorite color and therefore not a shirt I will keep. I loved this DIY and I will do it again! Next time I will be better at trying not to smudge, lots of drying time and maybe a new marker??? I will definitely start out with a much larger shirt as well. 


Apr 23, 2014

DIY {Decorated Light Bulb}


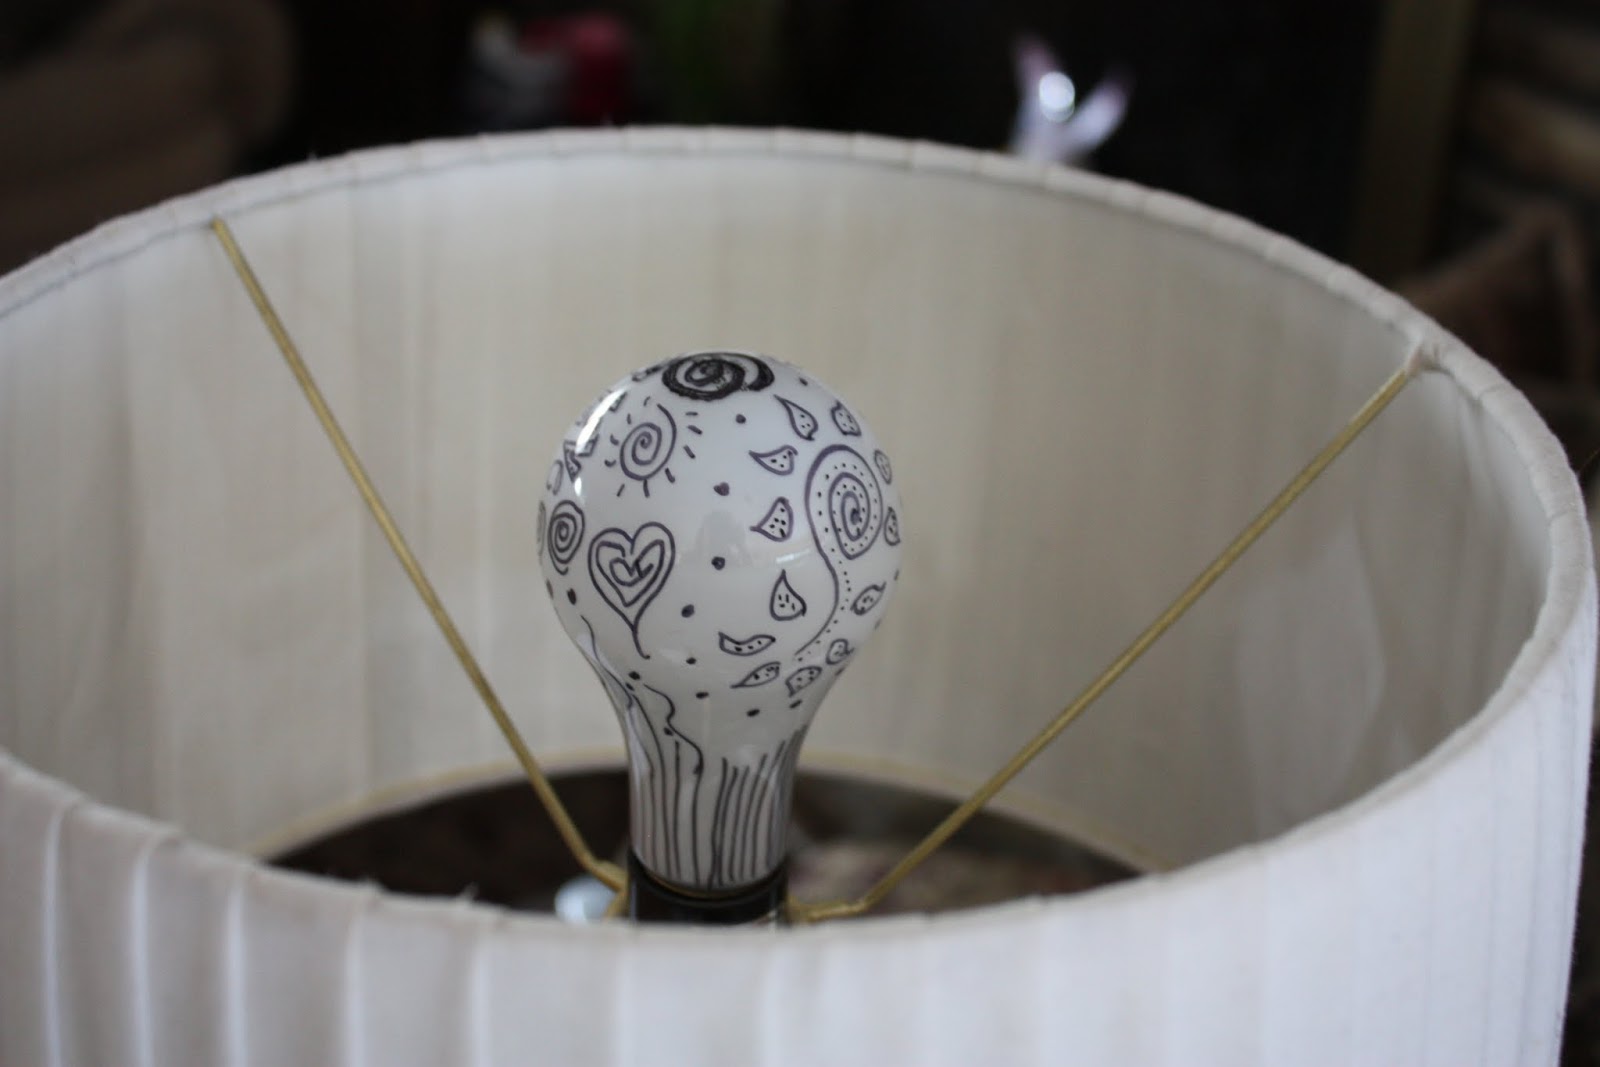
First of all, let me go ahead and burst your bubble. This was a Pinterest Fail. 


I saw this pin and thought, hey, that looks easy.  It was. It just didn't cast shadows on the ceiling like the pin said it would. It was fun to draw it at least.


Apr 1, 2014

DIY Faux Boot Sock

First off, this is not an original DIY thought up by yours truly. I know you've all seen the DIY sweater socks for wearing with your boots out there on Pinterest. I have too and I have several projects pinned! Anytime I think about giving a sweater to the thrift store I make sure I don't want the sleeves first! Well, this happened to be a similar kind of project. Real boot socks are expensive. Sweater boot socks are sometimes too bulky.  Sometimes even when I do actually buy boot socks they're still not long enough to actually stick out of the top of my boots! My husband was ready to toss his old Eddie Bauer camp socks when one got a hole in the heel. He's had them forever so they had really served their purpose as socks. I really loved the colors and thought the idea of using a camp sock style to an outfit would be cute. I decided to keep the top part of the socks to wear with boots - long, medium or ankle boots - it doesn't matter! Plus - this takes like one minute. A one minute craft. Me like.
Sad little hole:


Grab a pair of scissors


  Trim above the heel


Toss the bottom halves and keep the top halves. 


Just slip them on and pull them up to where your boot ends. The wider you leave the sock that you've cut up, the more sock will show at the top of your boot. Of course you can always pull them down and show just a little sliver. I wanted a lot to show. I went for a "glamping" style!

Here's how they look!


Feb 12, 2014

Coming Up...Valentine's Day


I am a sucker for Valentine's Day. I love love and I like all the glitter and glam that comes with Valentine's Day. I didn't get a heart wreath made this year like I wanted to but I do have a heart banner! Woohoo! Maybe if I get one new craft added to each holiday each year then I will feel like I'm making progress!


 I made this banner with gold paper heart doilies, fabric strips and red polka dot ribbon. I used some embroidery thread to string it all up. Easy peasy.


I made these Valentine's Day trees out of regular white paper that I rolled into a cone. One is covered with red yard, one with lace and one with felt pink hearts. I love these! They were very easy to make.


This little tree comes out for pretty much every holiday even though it's original purpose was an Easter tree (I think).


I prepared my son an "it's ok if you never bring it back" kind of bag to take to school to deliver all of his classroom valentines. It was an old Starbucks bag that I cut in half and wrapped (roughly) in tissue paper. He actually did bring it back. As a crumpled up ball in the bottom of his book bag.


Since school has already been called off for Wednesday due to the snowy forecast we will probably make some Valentine's for those special someones!