Showing posts with label DIY. Show all posts

Nov 11, 2016

Walmart Savings Catcher


Since we are a single income family I have always been on the lookout for ways to save on our grocery bill. I remember being so anxious in 2013 when I decided to become a stay at home mom to our two kids. I was so worried I wouldn't be able to feed a family of 4 (including a very hungry teenager) on my $400 a month grocery budget! That might seem like a lot to some of you and maybe it is. We don't have a garden so I need to buy all my produce. I incorporate a lot of fresh foods into our meals and we're meat eaters so that does add up. I also want to note that we live in a very expensive part of North Carolina and grocery prices, along with everything else, are on the higher side. I can go to South Carolina and see a little bit lower prices at the stores. Only not at the beach! But that's a whole different story!

Anyway, I was anxious about feeding a family on a budget for no reason because everything always worked out. We never had to go without! I would carefully plan out day two meals from using leftovers from the day before. I would shoot for ZERO waste!

Now I am buying groceries for a family of three since the teenager has graduated high school, went on to start a career in reflexology and living with his sweetheart of a girlfriend. There is a little more wiggle room in my budget. I am still always on the prowl for the best grocery deals. I have been known to go from one store to the next getting the sale items at each place. So tiring! So many miles to travel! 

Then I stumbled upon the Walmart Savings Catcher! I downloaded the Walmart app and started scanning my receipts. I forget how I first heard about it! I can't remember if I saw a commercial or something on the internet. Nonetheless, after I scanned my first receipt I got an email from Walmart with my savings. $6.32! Weeeeee! That may seem like a small amount to you but not to me! That meant on my next trip I could stock up on something like paper towels, detergent, or toilet paper. Non food items that drain the budget quickly. 


I just wanted to share this with you in case you are tired of running from store to store to find the best deals! 

Here's how you do it:

Download the Walmart app, have your receipt handy and go to Savings Catcher on the main screen. if you don't already have an account on Walmart.com now is the time to go ahead and make one. It's how I can see the balance of my rewards gift card super easy.


After you tap on Savings Catcher you will be prompted to scan your receipt


You will get an email that your receipt has been processed. In about a day or so you will get another email that will let you know if you have any savings. You can go back to the app and see where you saved!

Looks like Food Lion had my tea on sale. To drive to the nearest Food Lion I would have to spend an extra 15 minutes to get there. Ain't nobody got time for that!


Sometimes there is a lower priced found, sometimes no. Nice! Look at that June 2 savings! Wooooweee $8.54! I'm rich!


Since I started using this app back in April 2016, I have saved $65.63 all together. I'm very happy with that! Not seen...how much gas and time I've saved not driving to 4 or more stores!


I always choose to transfer my balance to a Walmart gift card. Then I can go to my account and see what my balance is on my card. Hmmm....I gotta go spend me some $5.33! I see some more toilet paper in our family's future...LOL 


You do have to keep the email from Walmart that has the bar code to your gift card in it. Then I hand my phone to the Walmart check out clerk and they scan it. I haven't found another way to do that part so if you do know - share with me! You can also shop online and use your gift card. 

Let me know if you do this too! I haven't tried their most recent addition of "pick up" shopping where you shop online and pick it up in your car at the store. I know some people that have and love it!

Aug 8, 2016

DIY {Curb Appeal - Mailbox Makeover}

Just wanted to share with you guys our curb side mailbox makeover!


Our mailbox was old and dilapidated and honestly, barely hanging on. The little red arm was long gone and the door barely closed. Pitiful! We think that someone might have backed into at some point. Either UPS or a neighbor. Anyway. We knew we needed a new box but we decided to give the whole area a facelift.


SAD:

We painted the post a earth-toned, warm, beige color. We bought a larger and more sturdier mailbox, a wine barrel and three plants. The three plants were actually three plants within itself. We cut the bottom out of the wine barrel and slipped it over the post. We did have to cut off the very tippy top of the post to squeak the barrel over it. But it was a great opportunity to add a solar light to the top! It ended up being a great thing that we didn't even consider in the beginning. I love seeing the light when I pull up at dusk.


Now, don't judge the weeds on the ground next to it. I literally just pulled these a few days ago and they are back. We have had SO much rain. Our future plans could be to build out a a rock wall with some weed prevention.

We added our street number to the post as well. That's why there is a little heart in the photo below :)


These little flowers are just exploding!

These flowers are annuals so they will die back, which will be heartbreaking because they are THRIVING!


May 6, 2016

DIY - The Easiest (Fondant Free) Minecraft Cake Ever


My son loves Minecraft and he asked for a Minecraft kind of cake for his birthday. I thought I would make a Creeper cake but I decided to just make the actual Minecraft Cake itself! I looked on Pinterest for inspiration OF COURSE and then ended up kind of winging it on my own.

I am NOT A BAKER! So this cake is very very simple and uncomplicated! I do not work with fondant. I mean, I would love to, but I really didn't have the time to get into fondant for this cake. He already had one birthday party with all of his friends so this was just a little family get together. We did a big Steve Diamond Sword cupcake cake for his birthday.


My cousin made it and it was awesome and so so so tasty. My little cake was just a runner up filler kind of cake if you know what I mean.

Anyway, if you do want to make this cake you will probably do a much better job than me so don't be discouraged!

Since it was so simple on the outside I decided to make it fun on the inside!


I followed the directions and it was easy!


I needed to make a square cake and I did NOT have square pans. So I used two circle cake pans and just trimmed the edges after they were baked and cooled.


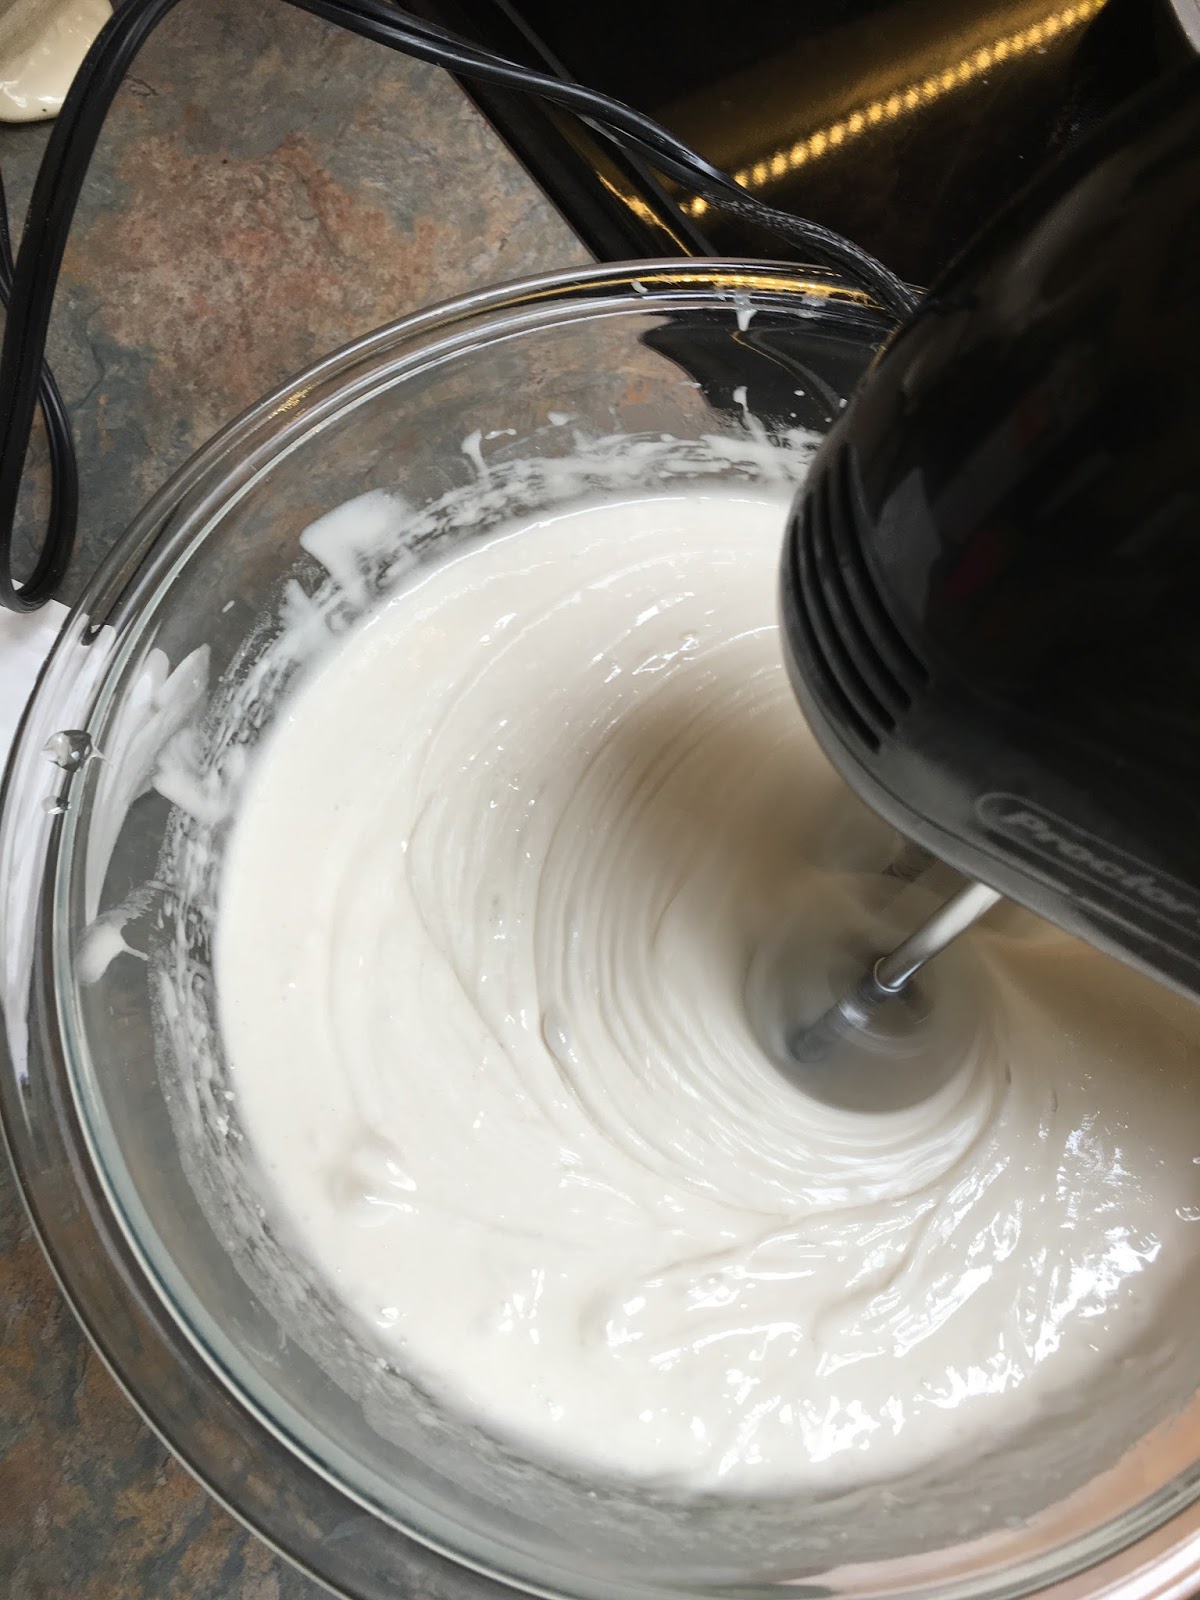
I divided the batter up so I could make six colors. The fun part!


Snapchatted the whole thing of course. Follow me at jessicawnc1


You start by pouring in some red, then orange on top of that red, then yellow on top of the orange and so on and so on. It will spread to corners on it's own.


The second pan I went backwards and started with the last color first.


After they baked and cooled I trimmed the circles into squares.


I frosted the bottom layer with a brown colored icing. My son doesn't like chocolate icing or I could've just used chocolate. Instead, I used food coloring to get it as close to brown as I could. See. Told ya! You can probably do a lot better than me!


Then I added the top white icing layer.


I used red gel icing that comes in a tube to make the squares. I didn't get them as sharp edged as I wanted to, but that's where fondant would've helped me. :(


I whipped up some green frosting and put it into a sandwich bag and piped it around the bottom just to make it look a little prettier.


I could've left it just like that but I thought it needed just a little something else. I piped out some squares for grass.


I added some of the Minecraft figurines that my son collects.


All in all I think it turned out pretty cute! I definitely could've had sharper lines on the "cherry" squares and the white icing meeting the brown icing for sure.


Ta da! This is where it sat and waited on him to get home from school. He really liked it and the cake was pretty tasty!

SO in case you are looking for a super easy, quick and non-fondant cake to make your kids - or whoever - on their birthday don't sweat it. If I can make this then you can definitely make it!


Oct 13, 2015

Gold Accents at Home {DIY}

Nothing groundbreaking here! Just a small tweak to make a boring set of candle holders a little sweeter! 


I have done a little bit of redecorating in our living room after we finally got a new couch - YAY!


 and I noticed these little black candle holders were looking just a wee bit sad. I knew I wanted to add gold accents but I didn't have any gold paint. I wasn't going to let that stop me. I remembered I had some gold fingernail polish! Perfect!


Mar 23, 2015

DIY Painted Rock Cactus

I saw this pin on Pinterest and thought I could muddle through this one pretty well. I didn't really have step by step directions and it was fairly easy just to wing it. My "cactus" doesn't have any cool 3D shadowing effects or anything but I think it works! Maybe? 

Here is the original pin:


And here is my finished product!


If you're looking for an easy DIY pin then this one is a good one to do. You really can't mess up. And if you do, just paint over it and start again. It's what I did! 

Dec 15, 2014

DIY Ugly Christmas Sweater @ Asheville Grit


Head on over to Asheville Grit today to check out my 3 different themed ugly Christmas sweaters! I had such a fun time putting them together. You gotta see the back of these babies! 

Nov 26, 2014

Craft Fail Book Feature AND...a GIVEAWAY!

Hey guys! We all love a good Pinterest session. But sometimes the effort just doesn't pay off. This is where some of the funniest stuff happens.

If you've been following One Girl for a while you will remember back when I tried and failed at spray painting a pair of heels hot pink. Check it out here in case you want a nice laugh. Well lucky for me that fail turned into a win! I uploaded my fail to the ever awesome blog Craft Fail and low and behold I got featured in their book that they just published! My terrible neon pink shoes can be found in Craft Fail, When Homemade Goes Horribly Wrong by Heather Mann. I love it! Check it out! 


My pitiful shoes in all their glory on page 26!


I have been cracking up at this book with every page turn. Here's some of the other fails.


Ok guys! GIVEAWAY TIME!


 I've got an extra copy that I can send to one of you! 

Enter in the giveaway for a chance to win a copy of Craft Fail. All you need to do is just make sure you're a follower of A Day in the Life of One Girl in Google Friend Connect and you're set! Enter for more chances to win by liking my facebook page. Good Luck! Giveaway will be open until December 11th.

  a Rafflecopter giveaway