Showing posts with label tribal. Show all posts

Jul 17, 2014

Try Try Again Girl

Top: Thrifted "Danskin" trimmed and DIY tribal pattern drawn on by me, Jeans: Thrifted "Lee Curvy", Minnetonka Moccasins: Ebay

Remember this pin and when I tried it the first time? Supposedly you could make your own tribal tee shirt by drawing on it with a fabric pen and using some clever placement of masking tape. If you remember, the first time I attempted this I used an old white tee shirt and I made lots of smudges with the fabric marker. Well I am happy to say that this go round was a big success! I don't know if it was the fact that the tee shirt was gray or just a better texture on the tee shirt itself. I love this one so much better than my first one! 


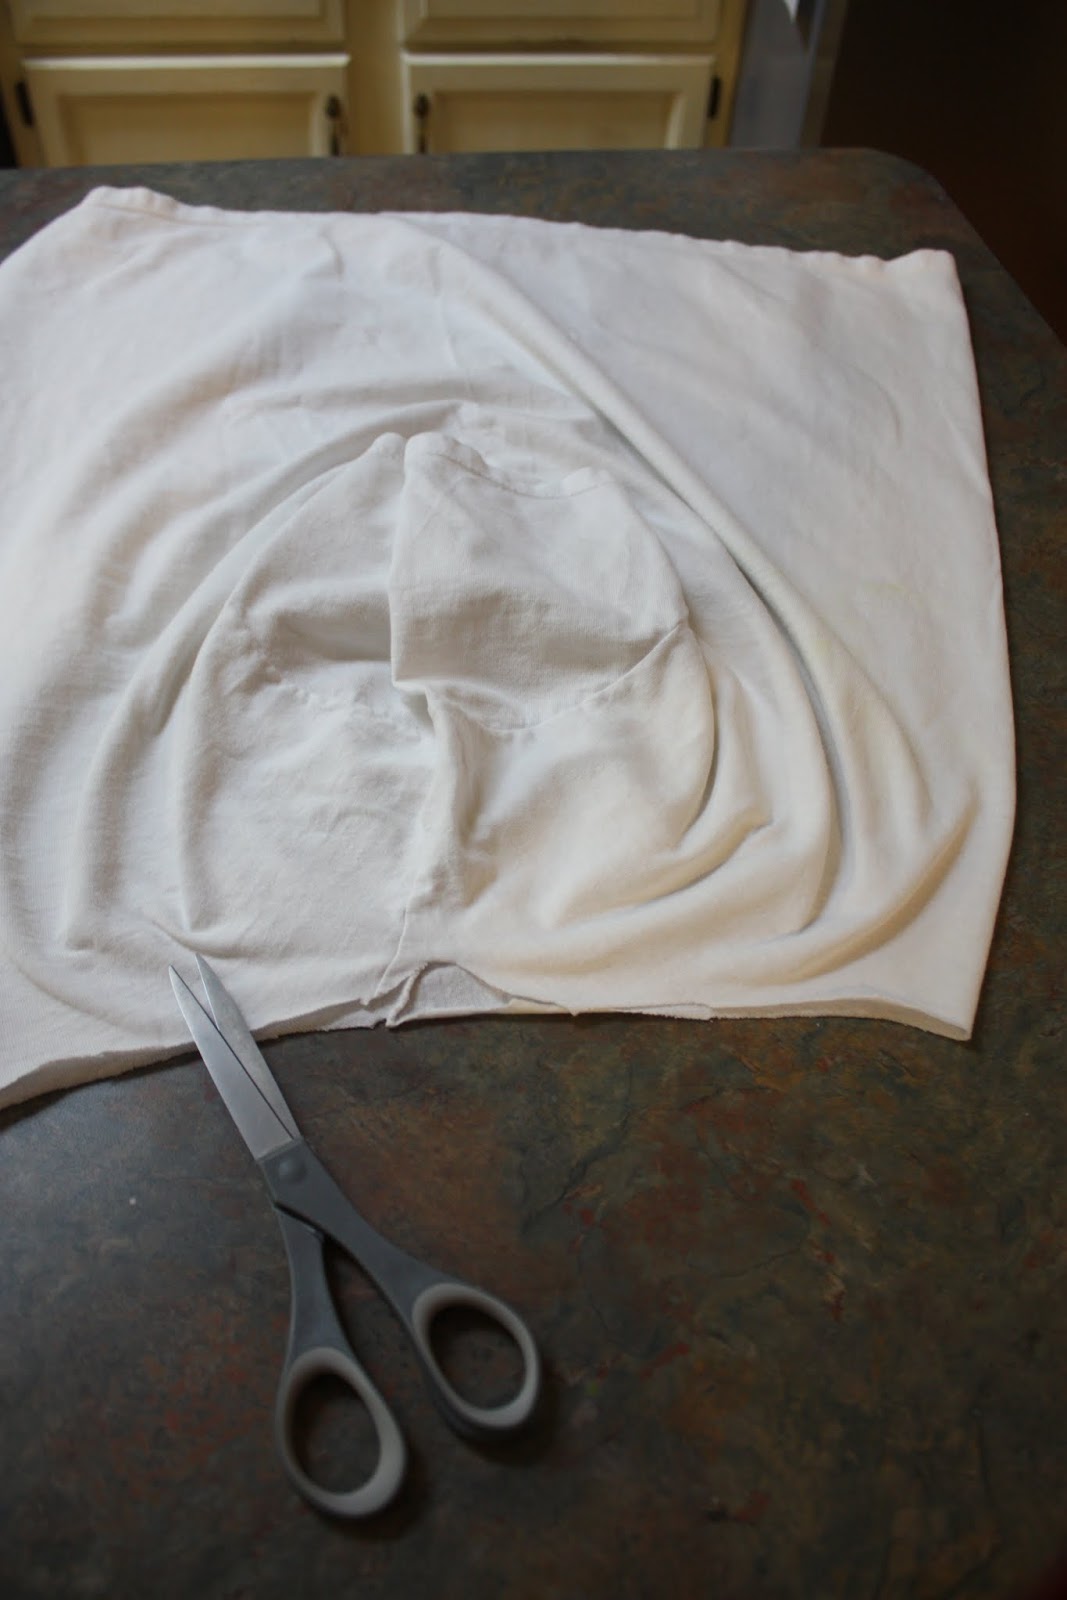
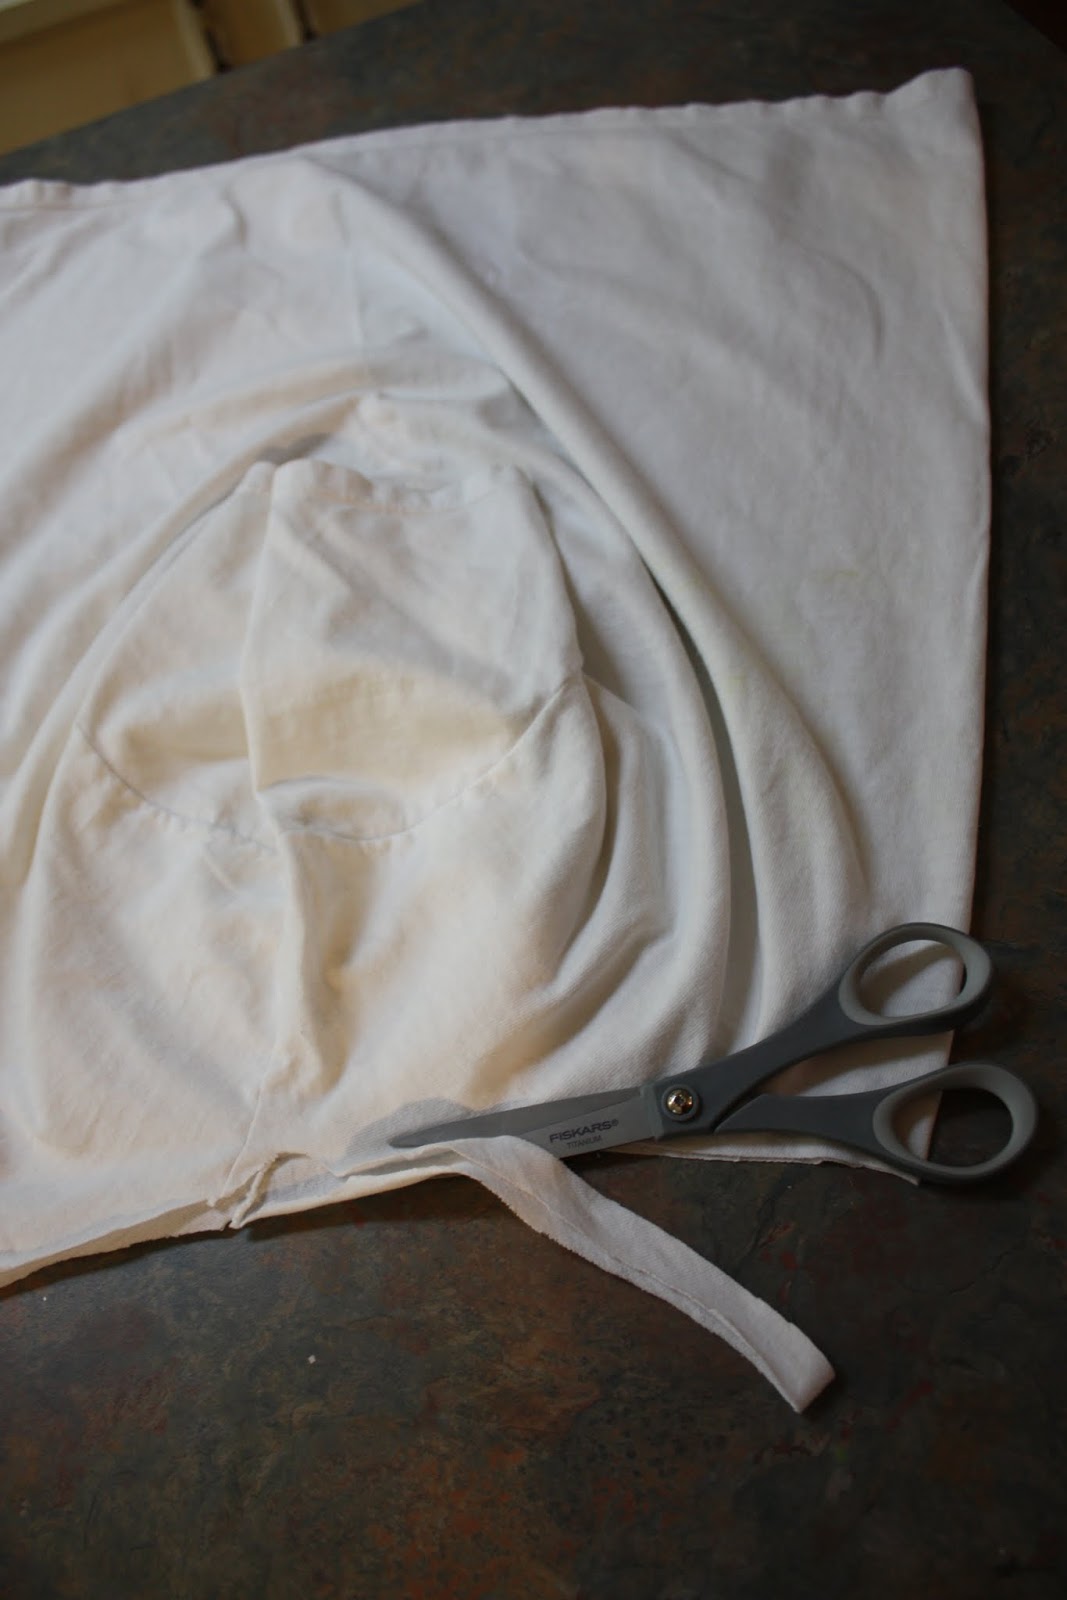
I chose not to cut the sleeves the way the tutorial showed. She had cut the sleeves and then tied them in little knots. When I did that it made the arm holes too tight. I like this way better. I simply cut the neck out just right around the trim. I cut the hem off the sleeves and the bottom. I did still follow her instructions on how to cut it a little higher in the front and lower in the back. I like a hi/lo tee shirt. Makes it a little more dressier.


This is one of those pins I definitely recommend trying. It's easy and inexpensive. Just use a gray tee shirt (like the directions already said! duh)

May 6, 2014

DIY {Tribal Tee}


I loved this DIY. I found the original pin here and it linked to the I Love to Create blog. Her directions were great. Easy to follow and easy to do.

I started with:
 a white tee
 a black fabric marker
scissors
masking tape
 and a tee shirt board (you can get the tee shirt board at the craft store or you could have a piece of cardboard where you've cut out a tee shirt template)


I followed her directions and she started with cutting the collar off.


Turn the tee shirt sideways and cut more off the collar for a more modern neck


She updates the sleeves next. Cut straight up the sleeve and then tie the ends in a knot.


The bigger size the shirt the better, I learned. I really should've started with like a men's large or x-large. This one was a women's large. When I tied the arms the sleeves ended up being tight for my arms. 

Next, cut off the bottom hem
 

Then make a cut like the photo below to give the tee shirt what a like to call a "mullet" in the back


See how the front is shorter than the back? I love it.


put the shirt on the tee shirt board 


Place masking tape in different widths. Inside the tape is where you will draw the tribal designs with the fabric marker.


I basically did different arrows and triangles using her design as a starting point.


Here is what I had hoped would be the final product. But during the process I got some smudges on shirt. You can't really tell in this photo but they were down below the designs. I tried to use soap and blot it out but it didn't work. Then there were more smudges that I saw as looked more closely and as it dried. I don't know if it was the way I colored my lines or if it was my fabric marker quality. 


At this point, the only choice I had was to dye the fabric. That's how it ended up the blue color! Not my favorite color and therefore not a shirt I will keep. I loved this DIY and I will do it again! Next time I will be better at trying not to smudge, lots of drying time and maybe a new marker??? I will definitely start out with a much larger shirt as well.