May 24, 2016

Little Black Tie Girl


I grabbed a fabric belt from another shirt and used it as... a necklace? a scarf? a tie? 

Who knows. I thought it worked!


Outfit details:
Chambray Shirt: Target
Leggings: Kohls
Boots: Steve Madden

May 20, 2016

Portrait Studio of Asheville FREE SESSION Winner!


And the winner is!


I will be sending you an email! Congratulations!

Thanks to everyone who entered. As always I will try to bring you more giveaways with super great contributors that I love!

May 16, 2016

Life Lately {My Favorite Charcoal Face Mask}


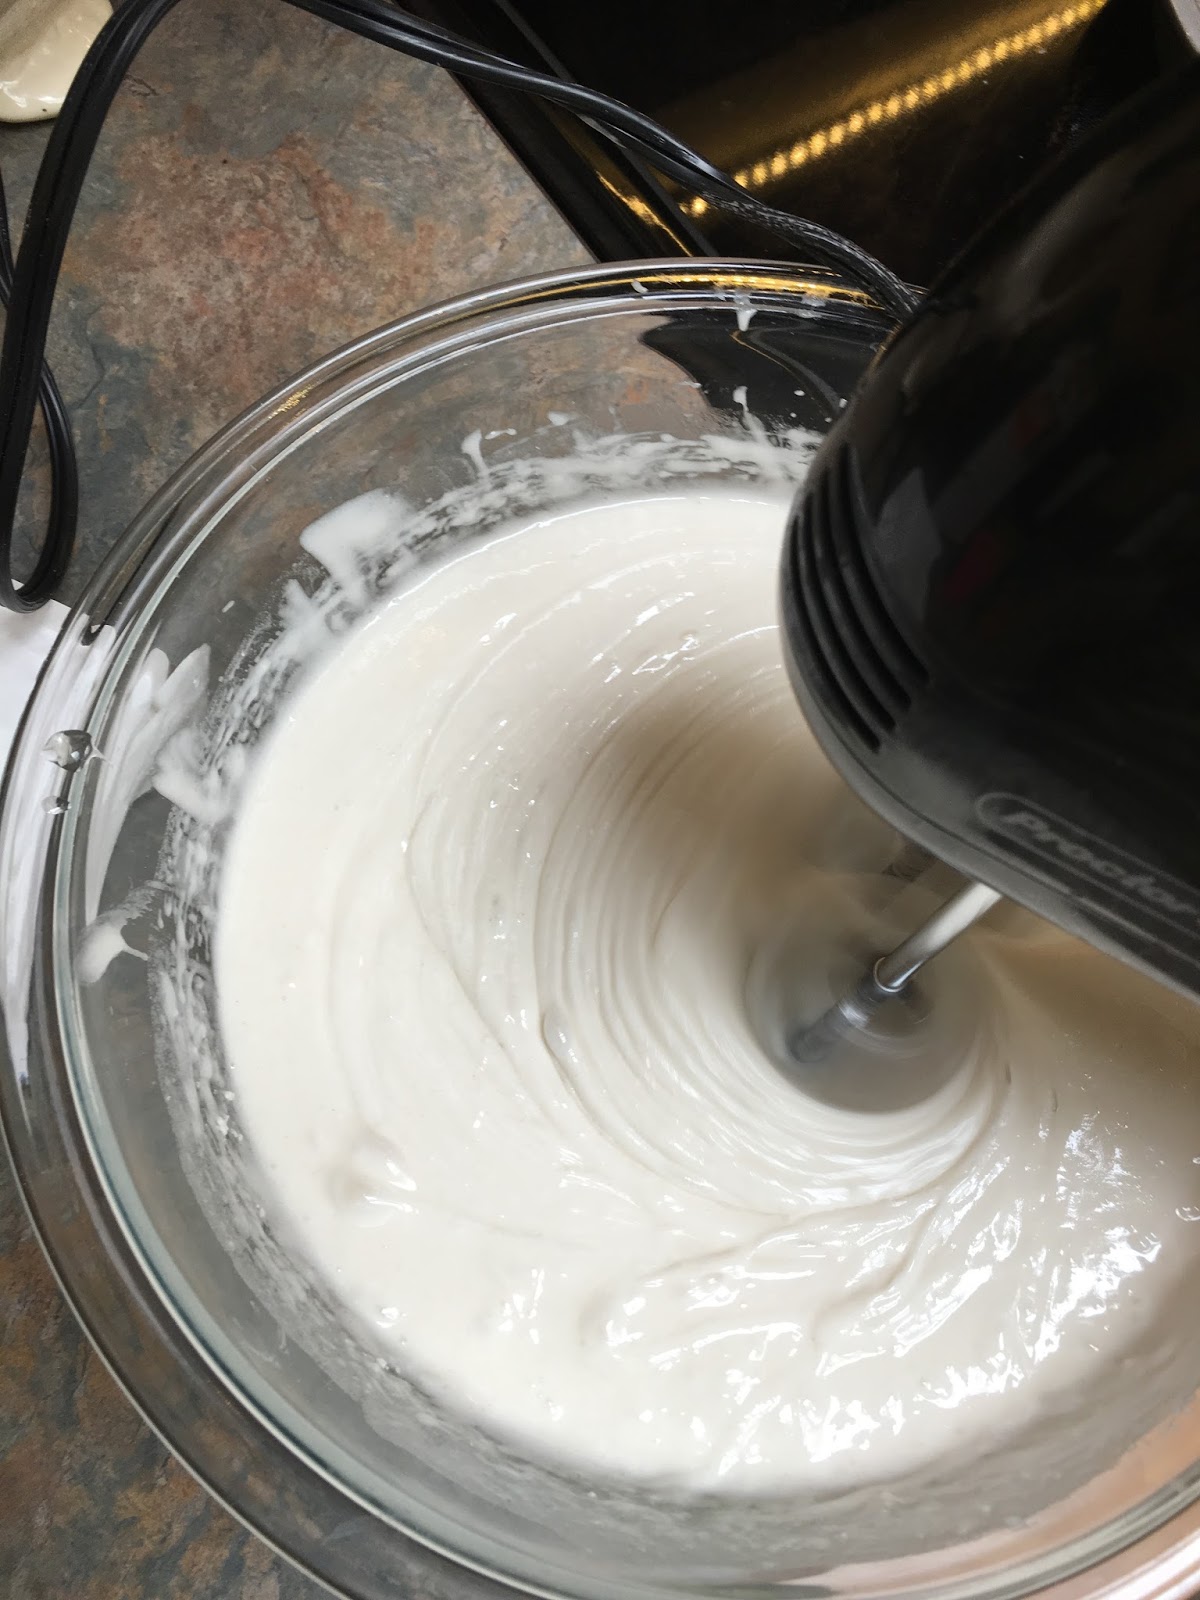
Guys, this is my hands down favorite mask to even out skin tone, clear up trouble skin that is breaking out and to brighten up your face! I put it all over my face but you can definitely just put it on your T-zone or your breakout zone. Wherever you are having the trouble. It is quite alright to mix and match with different masks on different parts of your face. Some areas might be dry, like near your nose, and other areas might be oily and clogged, like your chin. 


Since your taking the time to mask...go ahead and treat yo' self! Get your goodies together! 

*Headband
*Washcloth
*Facial Brush
*BONUS - hot tea to sip while your waiting for the mask to set


Make sure you start with makeup free skin and go ahead and get your washcloth soaked with hot water. I like mine HOT! But, you be the judge of your own level of comfort. Place the washcloth on your face and just let it sit there for a little bit. Get it all nice and McSteamy up in here. OPEN up the pores!

I want my pores to open up so I go as hot as I can stand it. You don't need to towel dry. Just let your skin stay slightly damp.


Load up your brush if you have one. I highly recommend getting one if you don't. It feels so SPA! A little extra special treat. If you don't have one by all means use your fingers! No biggie. 


With this mask, I do avoid getting it to close to my nostrils. It just tingles too much. This is where the brush comes in handy. 


Unless you are extremely confident in yourself...


If you used a brush, wash it out with a little bit of mild soap and let dry on a towel before your put it away for storage.


I usually let it sit about 10 - 15 minutes. Now is the time where you make yourself a little hot tea...sit on a sunlit patio and soak up the sounds of nature! OR plug in your headphones and listen to some relaxing music while your in the tub. You know where you feel the best.

 I will use the same washcloth and get it hot hot hot! I let the washcloth just kind of sit on my face and really just warm up all of the pores. Then just wipe the mask off, rinse and repeat.

Here's a before and after to scare the living daylights out of you (since I'm not wearing any makeup)


You may not be able to see a big difference since you're not living in my skin (hahahaha) but I see a difference. Just an overall better skin tone, less redness and a brighter color.  

You'll want to finish up with a moisturizer. This just happens to be the one I use for daytime. (I use organic Argan Oil at night). Don't skip this step! 


(I'm not affiliated with Origins at all! Just wanted to share!)


Don't forget to enter my giveaway for a free photo session plus portraits to take home (in print and on cd) from The Portrait Studio of Asheville! Over $100 value!

May 9, 2016

{My experience with} The Portrait Studio of Asheville + A GIVEAWAY!


We recently celebrated my little boys' 9th birthday and I was in shock of how fast time flies. Aren't we all? I cannot believe he is going to be a 4th grader in the fall. I just want time to stop and stand still for just a little while so I can soak up the sweetness that is this 9 year old boy.

I was so excited to get an invitation to visit The Portrait Studio of Asheville (know now as Portrait Innovations) and have a mother and son photo shoot! The studio is brand spanking new and it is really nice. I like the layout. There are two camera rooms or mini studios if you will. There is also a small dressing room available for clients that would like to change into different outfits for their shoot. We took them up on that offer!


One of the camera rooms


I loved all of their backdrops. There are so many to chose from!


Bethany was our photographer for the day and she was AWESOME!


She gave us so many options and really knew how to capture my son and me in the best, most natural poses. She told me to bring a few outfits so we could change and get some different looks.

This was my favorite back drop. It went so well with the laid back jeans and tee shirt look I was going for.


I did a "jeans and a tee shirt" theme, a sports theme and a dressy theme. Here's the sporty look. I LOVED this one! She got one of us doing push ups! Too cute. My son loved it.


I was really pleased at how Bethany styled us for the more dressier theme.


She got some SUPER ADORABLE ones of my son!


When we were done shooting Bethany met us at the viewing station and we started the hard part...choosing our favorites!


While we were choosing, they made a cd for us that holds ALL the photos from the day. The photos you choose to print will usually be ready for pick up in about a week. You will sign up online for an online account and you will be able to see your photos there as well. There is really so much access to your photos. Don't panic that you will miss any of them. Online is also where you can order some more personalized items (mugs, calendars, etc).

Look at all the photos I got! The quality is excellent and the package options let you get a lot of poses.


You can also get a hardcover or softcover book of the portraits you chose to go in the book.

Honestly, they have so many awesome specials and bonus offers that are going on I can't even list them all! Depending on what special they have going on you can get a ton of extra add on's.

They are open on the weekends too! Perfect for busy families.

The studio is located at 
1833 Hendersonville Road, Unit 170
Asheville, NC 28803
(828) 277-0994
Wednesday - Sunday 9 a.m. - 6 p.m.


AND NOW THE FUN PART!!!

The Portrait Studio of Asheville (now known as Portrait Innovations) would like to offer my readers a chance to win a FREE SESSION OF YOUR OWN! You will get a photo session with a partner, your family or solo! You will get all your photos on a cd and get to chose which ones you want them to print! This giveaway is only good for the ASHEVILLE NC location! You are more than welcome to enter but you will have to come to Asheville NC location!

Enter HERE:

a Rafflecopter giveaway

*
This prize pack is valued at in a range between $100 - $200 depending on photo choices. After the giveaway closes I will reach out to you via email. If I do not hear back from you within 48 hours, I will re-choose a winner. After I receive confirmation and you give me your name and contact info,  I will inform the studio of your information. It will be your responsibility to contact the studio and make an appointment.

*Disclosure: I received a complimentary session for review. All opinions and words are my own. I would not recommend a place to my audience without it being something that I would do/support myself!

May 6, 2016

DIY - The Easiest (Fondant Free) Minecraft Cake Ever


My son loves Minecraft and he asked for a Minecraft kind of cake for his birthday. I thought I would make a Creeper cake but I decided to just make the actual Minecraft Cake itself! I looked on Pinterest for inspiration OF COURSE and then ended up kind of winging it on my own.

I am NOT A BAKER! So this cake is very very simple and uncomplicated! I do not work with fondant. I mean, I would love to, but I really didn't have the time to get into fondant for this cake. He already had one birthday party with all of his friends so this was just a little family get together. We did a big Steve Diamond Sword cupcake cake for his birthday.


My cousin made it and it was awesome and so so so tasty. My little cake was just a runner up filler kind of cake if you know what I mean.

Anyway, if you do want to make this cake you will probably do a much better job than me so don't be discouraged!

Since it was so simple on the outside I decided to make it fun on the inside!


I followed the directions and it was easy!


I needed to make a square cake and I did NOT have square pans. So I used two circle cake pans and just trimmed the edges after they were baked and cooled.


I divided the batter up so I could make six colors. The fun part!


Snapchatted the whole thing of course. Follow me at jessicawnc1


You start by pouring in some red, then orange on top of that red, then yellow on top of the orange and so on and so on. It will spread to corners on it's own.


The second pan I went backwards and started with the last color first.


After they baked and cooled I trimmed the circles into squares.


I frosted the bottom layer with a brown colored icing. My son doesn't like chocolate icing or I could've just used chocolate. Instead, I used food coloring to get it as close to brown as I could. See. Told ya! You can probably do a lot better than me!


Then I added the top white icing layer.


I used red gel icing that comes in a tube to make the squares. I didn't get them as sharp edged as I wanted to, but that's where fondant would've helped me. :(


I whipped up some green frosting and put it into a sandwich bag and piped it around the bottom just to make it look a little prettier.


I could've left it just like that but I thought it needed just a little something else. I piped out some squares for grass.


I added some of the Minecraft figurines that my son collects.


All in all I think it turned out pretty cute! I definitely could've had sharper lines on the "cherry" squares and the white icing meeting the brown icing for sure.


Ta da! This is where it sat and waited on him to get home from school. He really liked it and the cake was pretty tasty!

SO in case you are looking for a super easy, quick and non-fondant cake to make your kids - or whoever - on their birthday don't sweat it. If I can make this then you can definitely make it!